Troubleshooting: Crater Shrinkage in Cast Steel Investment Parts
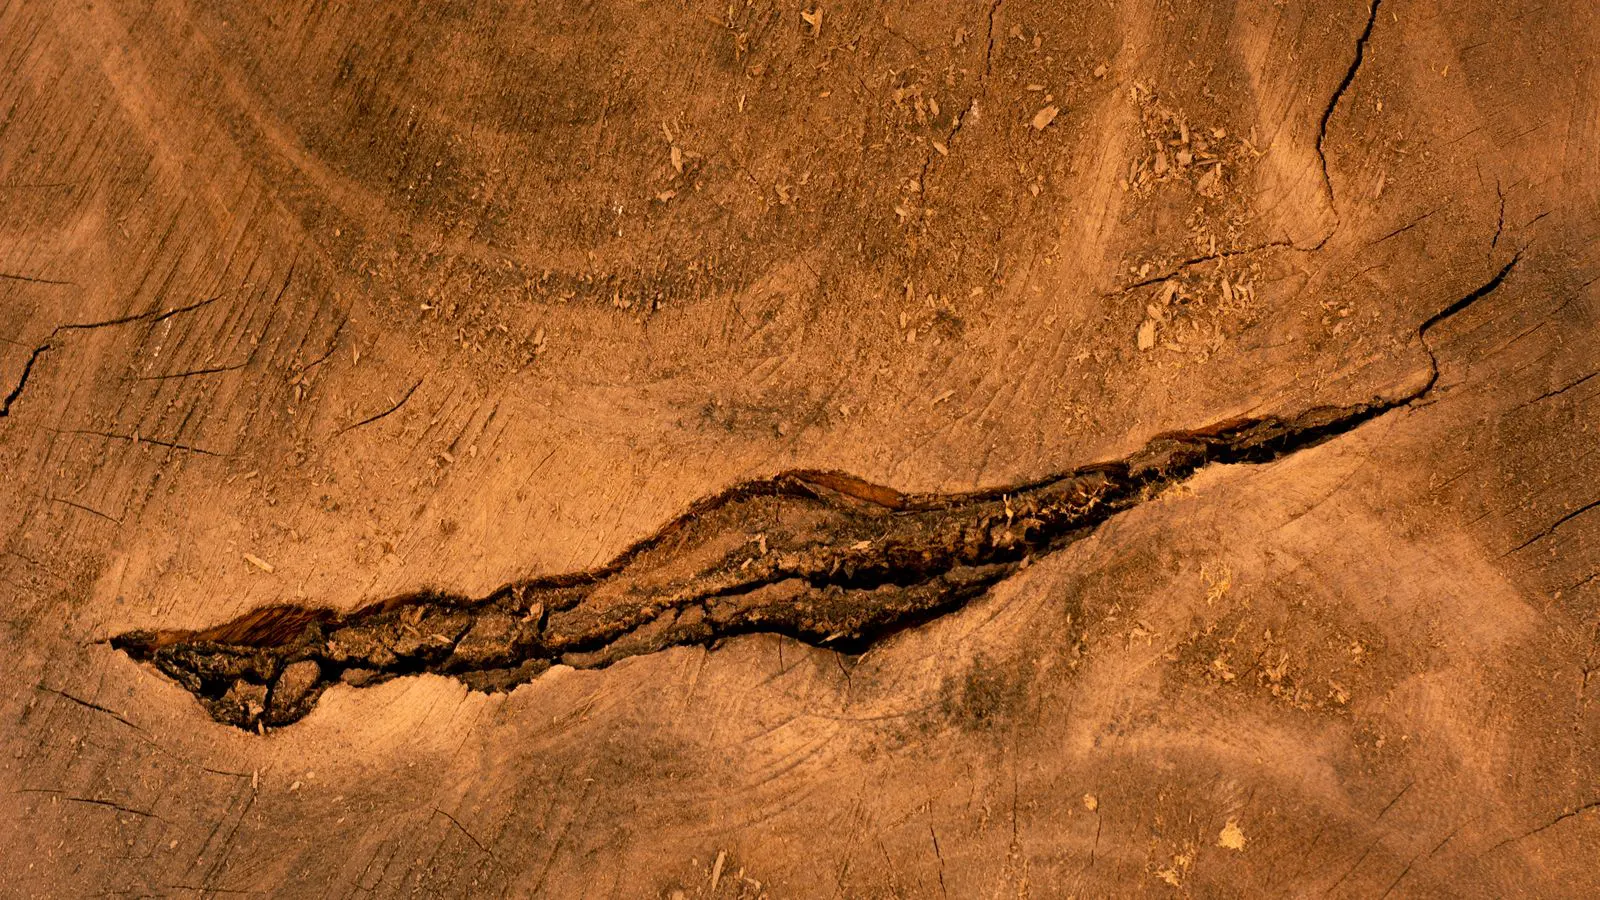
Crater shrinkage in steel investment castings stems from uneven solidification and improper gating. Engineers can correct these defects by adjusting riser design, controlling pour temperatures, and optimizing core and mold release agents to ensure uniform cooling.
- Crater shrinkage occurs when the last liquid metal to solidify shrinks, leaving a depression on the part surface.
- Proper riser placement and sizing are the primary methods for feeding the casting during solidification.
- Controlling core release agents and mold preheat prevents local overheating that disrupts the solidification front.
- Consistent pour temperatures and mold moisture control are necessary to prevent premature surface freezing.
- A combination of design changes and process adjustments is usually required to eliminate recurring shrinkage issues.
What is crater shrinkage in cast steel parts?
Crater shrinkage is a surface defect where a depression forms on the casting surface. This happens because the last liquid metal to solidify shrinks as it cools. The surrounding solid metal does not have enough strength to support the collapsing liquid. The result is a pit or crater, usually near a gate or a thick section.
This defect is common in steel investment castings because steel has a significant solidification range. The transition from liquid to solid metal happens over a wide temperature band. This allows the surface to freeze quickly while the interior remains liquid for a long time. If the interior shrinks without a feeding path, the surface collapses.
Engineers often see this defect on large hubs, flanges, and thick-walled housings. These parts have sections that cool slowly. The heat released by the thick sections keeps the metal liquid longer than the thinner walls. The cooling gradient becomes steep, and the risk of crater shrinkage increases.
How to identify the location of the defect
The position of the crater tells you a lot about the cooling behavior. Craters often appear at the end of the solidification path. Look for depressions near the gate or in the center of the thickest section. These areas are the last to solidify.
If the crater is located on a flat surface, check the core. A core that holds heat too long can cause local overheating. This keeps the metal liquid near the core longer than expected. When the core shrinks or collapses, it can create a void that pulls the surface down.
Craters on thin walls are less common but possible. They usually indicate a problem with the pour rate or the mold preheat. If the mold is too hot, the surface freezes too late. The metal remains liquid at the surface, and the solidifying interior pulls it inward as it shrinks.
Common causes of crater shrinkage in investment casting
Understanding the root cause is the first step to fixing the defect. The main causes involve the cooling rate, the feeding of liquid metal, and the mold conditions.
1. Inadequate riser design
The riser acts as a reservoir of liquid metal. As the casting solidifies and shrinks, the riser feeds the cavity with new liquid. If the riser is too small, it runs out of liquid before the casting is fully solid. The last part of the casting then shrinks without support, causing a crater.
Inadequate riser design is the most frequent cause of crater shrinkage in steel. The riser must be large enough to hold enough liquid to compensate for the total shrinkage of the part. It must also be positioned correctly to feed the hot spots.
2. Uneven cooling rates
Steel parts with varying wall thicknesses cool at different rates. Thin sections solidify quickly, while thick sections remain liquid. This creates a temperature gradient that drives the solidification front. If the cooling is uneven, the solidification path is interrupted.
A sudden change in thickness, such as a boss or a rib, creates a thermal barrier. The heat from the thick section slows the cooling of the adjacent thin section. This can lead to a localized area of liquid metal that shrinks and pulls the surface down.
3. Mold temperature and moisture control
The mold temperature at the start of the pour affects the cooling rate. A cold mold freezes the surface quickly, which is usually good. However, if the mold is too cold, the surface can freeze before the interior is solid. This traps liquid metal inside, and the shrinkage can cause internal voids that manifest as surface craters.
Moisture in the mold is another factor. Water in the investment or in the part creates steam when the hot metal is poured. This steam can create pressure pockets or disrupt the solidification front. It can also cause surface roughness that mimics or exacerbates crater shrinkage.
4. Core release agent issues
The release agent between the core and the part affects the cooling. If the agent is too thick or has the wrong composition, it can act as an insulator. This keeps the core warm and slows the cooling of the metal near the core. The core can also collapse if the release agent does not provide enough strength, creating a void that pulls the surface down.
Troubleshooting crater shrinkage: symptoms, causes, and fixes
The table below lists the most common symptoms of crater shrinkage, the likely causes, and the actions to take. Use this as a starting point for your diagnosis.
| Symptom | Likely cause | What to do |
|---|---|---|
| Crater at the end of the gate | Riser runs out of liquid metal | Increase riser size or add a second riser near the gate. |
| Crater in the center of a thick section | Hot spot holds liquid metal too long | Add a riser directly over the hot spot. Improve gating to promote radial cooling. |
| Crater near a core boundary | Core holds heat or collapses | Check core release agent thickness. Increase core strength. Add a riser near the core. |
| Crater on a thin wall | Mold too hot or pour rate too slow | Reduce mold preheat temperature. Increase pour rate to ensure a full, rapid fill. |
| Multiple small craters on a flat surface | Uneven cooling or moisture in the mold | Improve mold uniformity. Reduce moisture content in the investment. Check for steam pockets. |
| Crater that expands after cooling | Riser is not connected to the hot spot | Relocate the riser to be directly above or below the hottest area of the part. |
How to correct the defect in your process
Correcting crater shrinkage requires a systematic approach. Start with the design, then move to the process.
1. Revise the gating and riser design
Work with your foundry to review the gating system. The riser should be sized to hold enough liquid to feed the entire part. It should be positioned to feed the last areas to solidify. Use a riser that is larger than necessary. A slightly oversized riser is easier to manage than a small one that fails.
2. Control the mold temperature
The mold temperature should be consistent for every pour. Too cold or too hot, the cooling rate will be off. Work with your foundry to establish a target temperature range. Use a thermometer to verify the temperature before each pour.
3. Optimize the core release agent
The release agent must provide enough strength to hold the core in place while allowing the core to be removed easily. The thickness of the agent should be minimal. A thick layer of agent acts as an insulator and slows cooling. Use a thin, even coat of release agent on all core surfaces.
4. Improve the investment mixture
The moisture content of the investment is critical. Too much moisture creates steam, which disrupts the solidification front. Work with your investment supplier to ensure the mixture is dry and consistent. Check the binder content. A high binder content can trap gas and create voids.
5. Adjust the pour rate
The pour rate affects the cooling rate. A slow pour allows the surface to freeze before the cavity is full. This traps liquid metal and can cause shrinkage. Increase the pour rate to ensure a full, rapid fill. This promotes a smooth solidification front and reduces the risk of crater shrinkage.
Prevention tips for future production
Prevention is always better than correction. Implement these practices to reduce the risk of crater shrinkage in your steel investment castings.
- Design for uniform cooling. Avoid sudden changes in wall thickness. Use gradual transitions. Add ribs or bosses only where necessary. Keep the thickest sections as small as possible.
- Use a consistent process. The mold temperature, pour rate, and investment mixture should be the same for every pour. Document the process parameters and follow them strictly.
- Inspect the cores. Check the cores for damage or contamination before assembly. A damaged core can create voids that pull the surface down.
- Monitor the solidification front. Use a thermocouple to monitor the temperature of the casting during the pour. This gives you real-time data on the cooling rate. Adjust the process if the temperature profile is off.
- Review the part after every batch. Inspect the first part of every batch for crater shrinkage. If a defect is found, stop the production and investigate the cause before continuing.
When to consult a foundry specialist
If you cannot eliminate crater shrinkage with design and process changes, consult a foundry specialist. They can analyze the part and the process to identify the root cause. They can recommend changes to the gating system, the riser design, or the mold conditions. They can also provide data on the cooling rate and the solidification front to help you make informed decisions.
A foundry specialist can also help you evaluate the trade-offs between different design and process options. For example, a larger riser may be needed to feed a hot spot, but it may also affect the part’s surface finish. A foundry specialist can help you balance these factors to find the best solution.
Troubleshooting crater shrinkage is a mix of design, process, and material science. By understanding the causes and applying the fixes in this guide, you can diagnose and correct the defect in your steel investment castings. Focus on the location of the defect, the cooling rate, and the feeding of liquid metal. These are the key factors that determine whether a crater will form. A systematic approach to troubleshooting will help you eliminate the defect and improve the quality of your parts.
Frequently asked questions
Can crater shrinkage be fixed after the casting is made?
No. Crater shrinkage is a casting defect that forms during solidification. It cannot be repaired after the part is made. The only options are to rework the part by machining or welding, or to reject the casting.
Is crater shrinkage different from porosity?
Yes. Crater shrinkage is a surface depression caused by the shrinking of the last liquid metal. Porosity is a void or cavity inside the casting caused by trapped gas. Crater shrinkage is a surface feature, while porosity is an internal defect.
How do I know if my riser is too small?
If you see crater shrinkage at the end of the solidification path, the riser is likely too small. Check the location of the crater. If it is near the gate or in a thick section, the riser is not feeding enough liquid. Increase the riser size.
Can core release agent cause crater shrinkage?
Yes. If the release agent is too thick, it acts as an insulator and slows cooling near the core. This can keep the metal liquid longer, leading to shrinkage. If the core collapses, it can also create a void that pulls the surface down. Use a thin, even coat of release agent.
How long does it take to fix crater shrinkage?
It depends on the complexity of the part and the process. Simple design changes, like adding a riser, can be done quickly. Complex changes, like redesigning the gating system, may take several weeks. Work with your foundry to develop a plan.