Troubleshooting Surface Roughness in Investment Castings
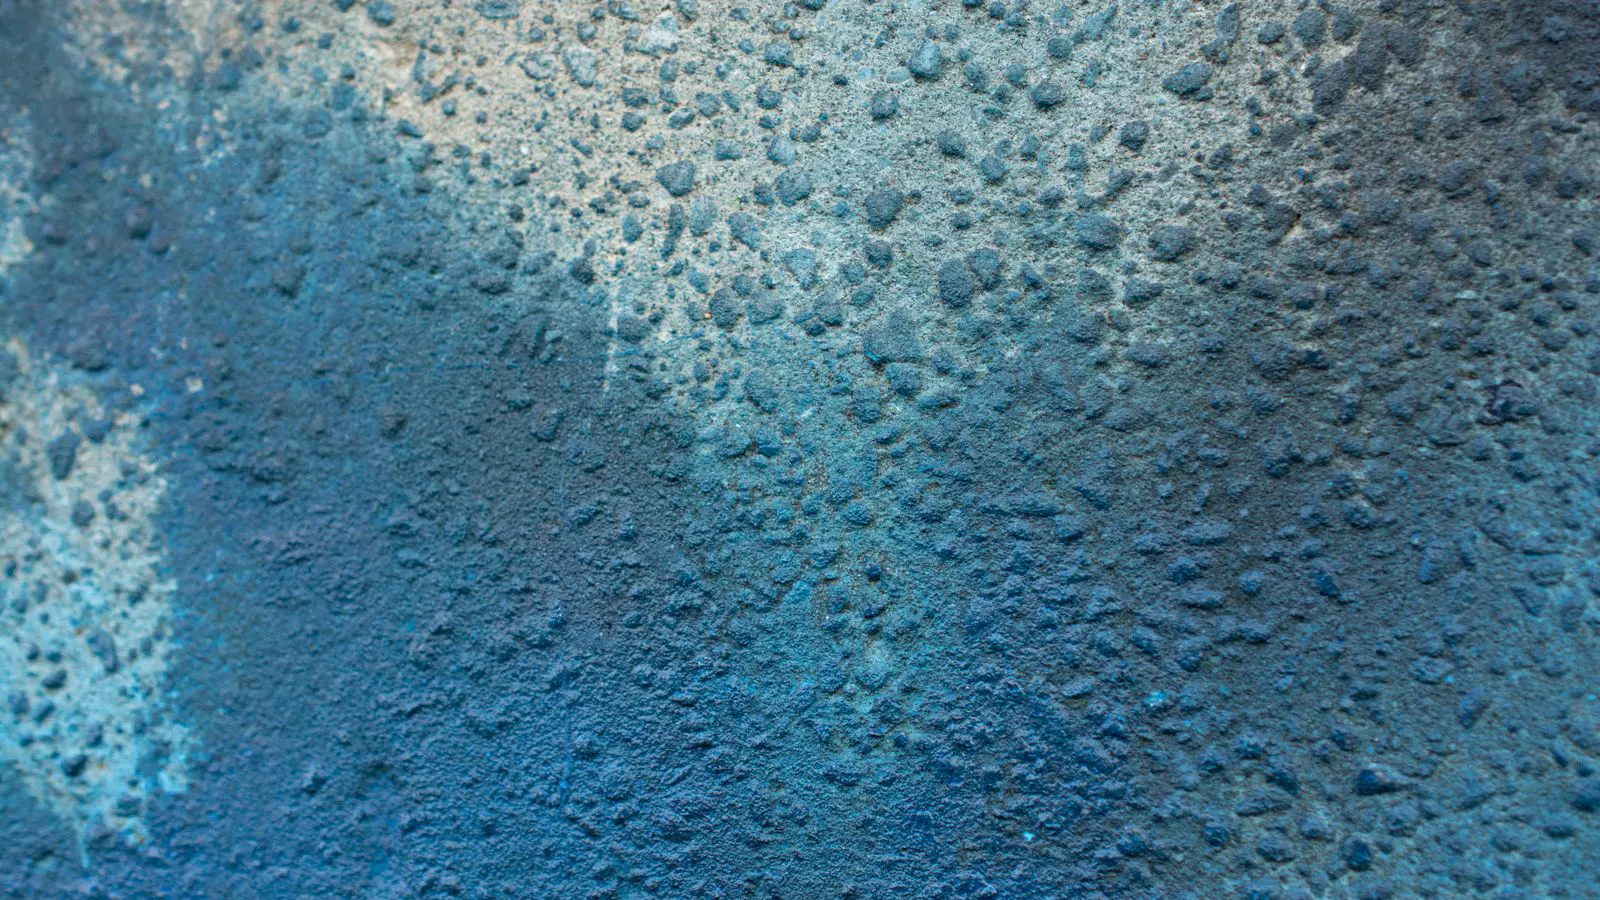
Poor surface finish in investment castings usually stems from mold issues, parting lines, or inadequate post casting finishing. This guide lists common symptoms, likely causes, and corrective actions to improve surface texture and dimensional accuracy.
- Poor surface finish usually starts at the mold stage, not the finishing stage.
- Parting lines, vents, and core supports are frequent sources of visible roughness.
- Post casting finishing removes defects but cannot fix poor mold quality.
- Dimensional accuracy improves when surface texture is controlled early in the process.
- Prevention is cheaper than rework.
What causes visible roughness in the first place
Surface roughness in investment casting rarely appears as a single random defect. It usually shows up in predictable patterns. A part with a rough face on one side often has a problem at the parting line. A part with rough spots near a small hole often has a core support mark. A part that looks rough everywhere may have a mold that was not cleaned or was too porous.
The most common root causes are mold quality, parting line alignment, and insufficient post casting finishing. If the mold is too coarse, the metal inherits that texture. If the mold halves do not close cleanly, the parting line becomes a raised ridge. If the part is cast with a core, the core support leaves a small bump that sanding can remove but grinding may not.
Another common issue is gas entrapment. When the metal solidifies, gas pockets can leave small pits or a rough, pitted surface. This is more common in thin sections, hot metal, or slow pouring. The metal flows, cools, and traps gas before the surface can smooth out.
Reading the defect: where the roughness sits matters
Before you call the foundry, look at where the roughness appears. The location tells you a lot about the cause.
Roughness along the parting line usually means the mold halves did not close evenly, or the parting surface was not prepared. This is one of the most common complaints. The fix is usually a mold improvement, not a finish improvement.
Roughness around a small hole or cavity usually means a core support mark. The core support is a small pin or tab that holds the core in place. When it is removed, it leaves a small bump. If the bump is not ground or machined, it shows up as a rough spot.
Roughness in thin walls often points to gas entrapment or a slow pour. The metal cools too quickly before it can flow fully. The result is a pitted or uneven surface. The fix is usually a change in pour temperature, mold temperature, or gating design.
Roughness across the whole part suggests a mold issue. If the mold is too porous or was not cleaned, the metal picks up that texture. This is harder to fix. You may need a different mold material, a different mold thickness, or a different surface preparation.
Troubleshooting table: symptoms, causes, and fixes
| Symptom | Likely cause | What to do |
|---|---|---|
| Roughness along the parting line | Mold halves did not close evenly, or parting surface was not prepared | Check mold alignment, clean parting surface, adjust clamping or mold thickness |
| Small bumps near holes or cavities | Core support marks | Remove core supports at the source, or grind/machine the affected areas |
| Pitted or rough surface in thin walls | Gas entrapment, slow pour, or low pour temperature | Increase pour temperature, improve gating, reduce mold porosity |
| Uniform roughness across the part | Coarse mold, poor mold cleaning, or wrong mold material | Switch to a finer mold material, clean the mold, or adjust mold thickness |
| Roughness in deep sections | Core support marks or incomplete core removal | Improve core design, use removable cores, or finish the affected areas |
Use this table as a starting point. If the symptom matches more than one cause, the table will help you prioritize. The most common cause is usually the one that matches the location of the defect.
Mold quality is the first line of defense
You cannot finish away a bad mold. If the mold is too coarse, the metal will have a coarse surface. No amount of sanding or grinding will make a coarse mold look smooth. The metal fills the mold cavity and copies the mold surface. If the mold is rough, the casting is rough.
The mold material matters. Some materials are naturally finer than others. The finer the mold, the smoother the casting. The mold thickness also matters. A thicker mold cools the metal more slowly, which gives the metal more time to flow and fill the cavity. A thin mold cools the metal quickly, which can lead to gas entrapment and a pitted surface.
Mold cleaning is another issue. If the mold is not cleaned properly, dust, debris, or old material can remain in the cavity. This shows up as rough spots or uneven texture. A clean mold is a basic requirement. If the mold is dirty, the casting will be rough.
Parting lines and core supports are frequent trouble spots
Parting lines are where the two mold halves meet. If the halves do not close evenly, the parting line becomes a raised ridge. This ridge is rough and visible. The fix is usually a mold improvement. The halves need to close evenly. The parting surface needs to be clean and flat.
Core supports are another common source of roughness. The core support holds the core in place during the pour. When the core is removed, the support leaves a small bump. If the bump is not ground or machined, it shows up as a rough spot. The fix is usually a core design improvement. Use removable cores. Use smaller cores. Or finish the affected areas.
The parting line and core support marks are two of the most common causes of visible roughness. They are also two of the easiest to fix. A mold improvement or a core design change can eliminate them. Post casting finishing can also remove them, but it is more expensive.
Post casting finishing: what it can and cannot do
Post casting finishing removes defects, but it does not create a good surface. It can remove a parting line ridge. It can grind a core support mark. It can sand a pitted surface. But it cannot make a coarse mold look smooth. If the mold is rough, the casting is rough. Finishing can only remove material. It cannot add material.
The type of finish matters. Sanding is good for general roughness. Grinding is good for localized defects. Machining is good for tight dimensions. Each method has a cost and a trade-off. Sanding is cheap but slow. Grinding is fast but removes material. Machining is precise but expensive. The right finish depends on the part and the defect.
A common mistake is to rely on finishing to fix a mold problem. If the mold is bad, the finishing cost goes up. The foundry has to remove more material. The part may not hold its dimensions. The finish may not be even. The better approach is to fix the mold first. Then the finishing can do its job.
Dimensional accuracy and surface texture are linked
Surface texture and dimensional accuracy are related. A rough surface can cause a part to fail a dimensional check. The roughness adds material. The part is larger than it should be. The roughness also affects the fit. A rough surface does not seat properly. A rough surface wears differently.
If the surface is rough, the part may need to be machined. Machining removes the roughness and brings the part to size. But machining is expensive. It also removes material. If the part is thin, machining may not be possible. The better approach is to control the surface texture at the mold stage. Then the part holds its dimensions. The finishing can be lighter.
A common mistake is to separate surface texture and dimensional accuracy. They are not separate. A rough surface affects the dimension. A tight dimension affects the surface. The two work together. The goal is a surface that is smooth enough to hold the dimension without heavy finishing.
Prevention tips that reduce rework
The best way to avoid roughness is to prevent it. Prevention is cheaper than rework. It is also faster. A part that is rough after casting has to be inspected, reworked, and re-inspected. A part that is smooth from the start only needs a light finish.
Start with the mold. Use a fine mold material. Clean the mold. Check the parting surface. Make sure the mold halves close evenly. These are basic steps, but they prevent a lot of roughness.
Look at the core design. Use removable cores. Use smaller cores. Avoid long core supports. The core design affects the surface. A good core design reduces the number of rough spots.
Control the pour. Use the right pour temperature. Use the right mold temperature. Pour slowly enough to avoid gas, but fast enough to avoid cooling too quickly. The pour matters. A bad pour leaves gas pockets. Gas pockets leave pits. Pits look rough.
Plan the finish. Decide what the finish should be before the part is cast. A rough part may need a different finish than a smooth part. The finish plan should match the defect pattern. If the parting line is rough, the finish plan should include parting line work. If the core support marks are rough, the finish plan should include core mark removal.
How to talk to the foundry about roughness
When you contact the foundry, bring a photo. Bring a part. Bring a drawing. Bring the defect location. Do not just say the surface is rough. Say where it is rough. Say what the pattern is. Say what the part is made of.
A photo helps. A part helps more. The foundry can see the defect. The foundry can match the defect to a cause. The foundry can check the mold. The foundry can check the core. The foundry can check the pour.
Be specific. Say the parting line is rough. Say the core support marks are rough. Say the thin wall is pitted. The foundry can fix what it sees. If the description is vague, the fix is vague. A specific description leads to a specific fix.
Do not ask for a finish that is not possible. A rough mold cannot be finished to a smooth surface without removing a lot of material. The finish has limits. The mold has limits. The part geometry has limits. Know the limits. Then ask for a realistic finish.
When to change the mold, the core, or the finish
Sometimes the fix is a mold change. Sometimes the fix is a core change. Sometimes the fix is a finish change. The decision depends on the defect.
If the roughness is uniform, the mold is the likely cause. Change the mold material. Clean the mold. Check the mold thickness. If the roughness is along the parting line, the mold halves are the likely cause. Check the parting surface. Check the clamping. If the roughness is near a hole, the core is the likely cause. Change the core design. Use a removable core.
If the roughness is in a thin wall, the pour is the likely cause. Change the pour temperature. Change the mold temperature. Improve the gating. If the roughness is in a deep section, the core is the likely cause. Change the core design. Remove the core support.
Do not change everything at once. Change one thing at a time. Test the change. If the defect improves, keep the change. If the defect does not improve, try the next change. A small change often fixes the problem. A big change is expensive and risky.
Quick checklist before you cast
Use this checklist before you send a part to the foundry. It is short, but it catches most common issues.
- Check the drawing for tight tolerances.
- Check the drawing for critical surfaces.
- Check the part for thin walls.
- Check the part for small holes.
- Check the part for deep sections.
- Decide the finish.
- Decide the tolerance.
- Send the part with a photo of the desired finish.
This checklist does not guarantee a smooth surface. But it gives the foundry the information it needs. The foundry can see the tight tolerances. The foundry can see the critical surfaces. The foundry can see the thin walls. The foundry can see the small holes. The foundry can plan the mold. The foundry can plan the core. The foundry can plan the finish.
A good part starts with a good drawing. A good part ends with a good finish. But the middle matters. The mold, the core, and the pour are the middle. If the middle is good, the part is good. If the middle is bad, the part is bad.
Final notes on surface roughness
Surface roughness in investment casting is usually a system problem. It is not one thing. It is the mold, the core, the pour, and the finish working together. If one part is bad, the part is bad.
The most common causes are mold quality, parting lines, and core supports. The most common fixes are mold changes, core design changes, and pour adjustments. Post casting finishing removes defects, but it does not create a good surface.
Start with the mold. Check the parting line. Check the core. Check the pour. Then plan the finish. That is the order. The order matters. A good order leads to a good part. A bad order leads to a bad part.
If you are seeing roughness on a part, look at where it is. The location tells you the cause. A rough parting line is a mold issue. A rough core mark is a core issue. A pitted thin wall is a pour issue. A uniform rough surface is a mold material issue.
Fix the cause. Do not just finish the symptom. The fix is cheaper. The fix is faster. The fix is better.
Frequently asked questions
Can post casting finishing remove parting line roughness?
Yes, grinding or machining can remove a parting line ridge. But the mold should be checked first. A rough parting line is usually a mold alignment issue.
What is the best mold material for a smooth surface?
A finer mold material gives a smoother surface. The mold material should match the part size and the desired finish. A small part needs a finer mold. A large part can use a coarser mold.
How do core supports affect surface finish?
Core supports leave small bumps on the part. The bumps are rough. The fix is to use removable cores or to grind the bumps. A core design change is often cheaper than heavy finishing.
Can gas entrapment be prevented?
Yes. Use the right pour temperature. Use the right mold temperature. Pour slowly enough to avoid gas. Improve the gating. A good pour leaves fewer pits.
Should I send a photo of the desired finish?
Yes. A photo helps the foundry understand what you want. A photo of a good finish is clearer than a written description. The foundry can match the photo. The foundry can check the finish.