Comparison: Visual vs X-Ray for Casting Defects
Visual inspection finds surface defects, while X-ray reveals internal flaws. Engineers must match the casting defect testing method to the part geometry, defect type, and required confidence level. This guide breaks down the trade-offs.
- Visual inspection is fast and inexpensive but misses subsurface and internal defects.
- X-ray testing detects internal porosity, inclusions, and incomplete cores but has resolution limits.
- Part geometry, material, and defect risk dictate the right inspection level.
- Combining visual checks with targeted X-ray often provides the most reliable defect detection.
- Documenting findings and NDE reports is required for traceability and customer acceptance.
The core problem: surface vs internal defects
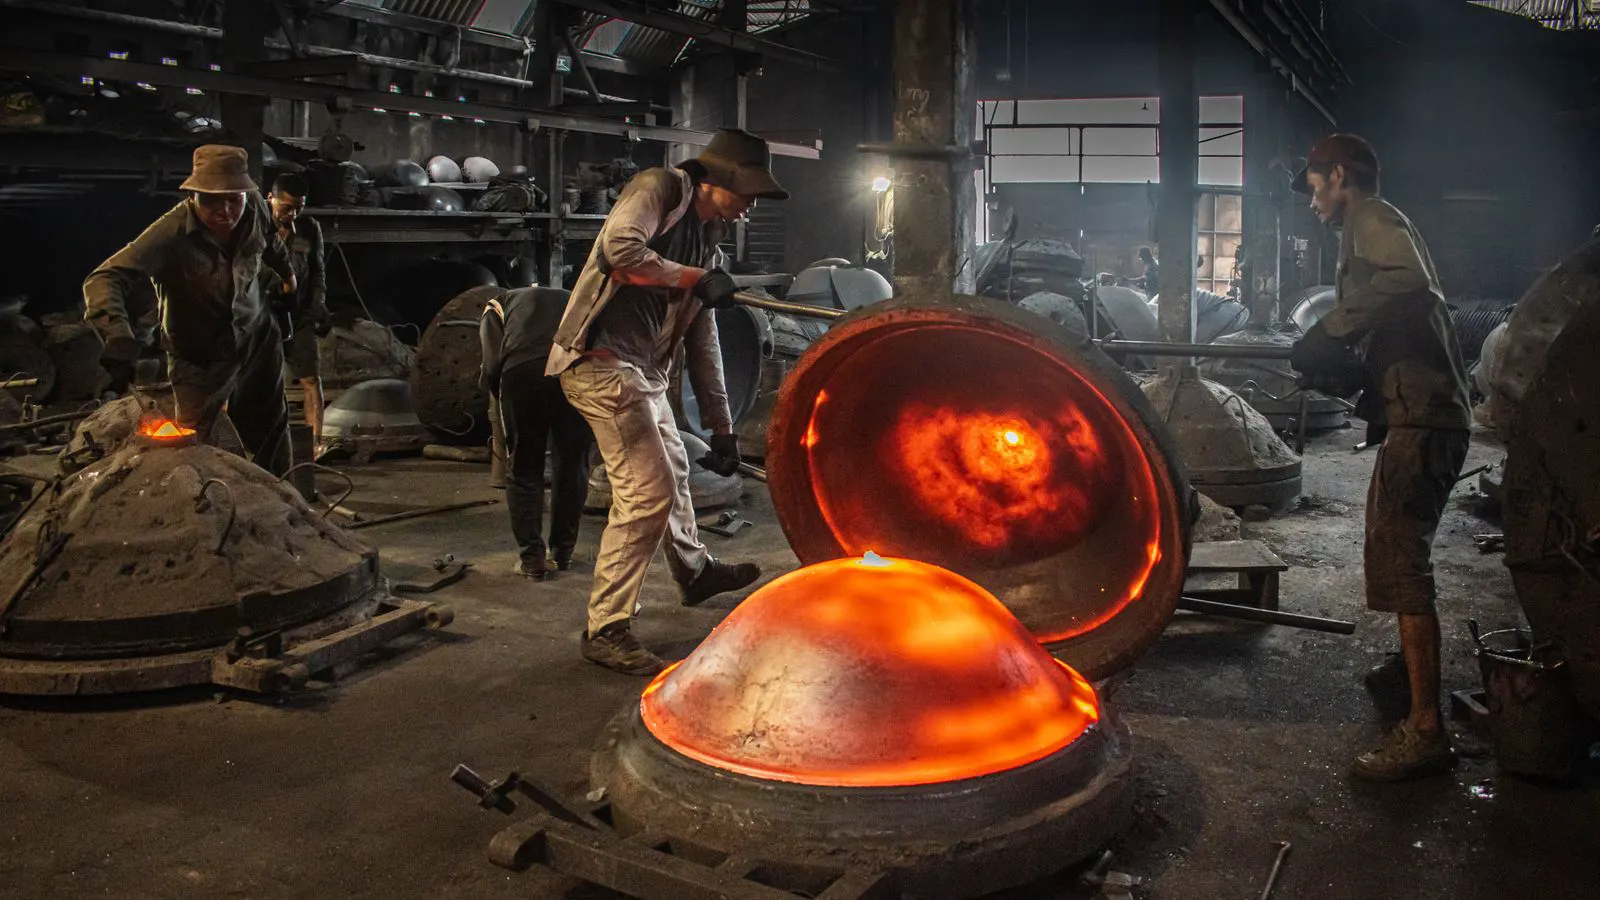
Investment casting parts often fail for reasons invisible to a quick shop-floor glance. A part can look clean on the surface and still hold internal shrinkage porosity, a misaligned core, or a hot tear. Engineers face a direct choice when planning casting defect testing: rely on what the eye can see or send the part through radiation to see what lies beneath.
This decision affects cost, schedule, and risk. A visual check takes seconds. An X-ray scan takes minutes to hours, depending on equipment and part size. For high-value aerospace or medical components, the cost of a missed defect dwarfs the inspection fee. For low-cost hardware, over-inspection may simply be wasteful.
The right approach depends on what the part must do, how it is made, and what the customer requires.
What visual inspection actually finds
Visual inspection is the first line of defense. A trained inspector uses the naked eye, sometimes with magnification, to examine the casting surface for obvious defects. Typical findings include:
- Shrinkage pits and blowholes
- Core shift or core print
- Misrun or incomplete fill
- Surface porosity
- Flash and gating marks
- Cracks visible at the surface
This method is fast, non-destructive, and requires no special equipment beyond good lighting and a reference standard. For many commodity parts, it is sufficient. A bolt, a simple bracket, or a low-stress structural component often passes inspection with only a visual check.
However, visual inspection has hard limits. It cannot see inside the part. A large internal void may be hidden under a smooth surface. A small inclusion or a core shift that does not breach the skin will not be detected. The inspector is also limited by part geometry. Recesses, thin walls, and complex contours can hide defects.
Lighting matters. Raking light across a surface can reveal shallow pits that flat lighting would miss. Magnification can help with small surface features. But if the defect is below the skin, no amount of lighting will show it.
What X-ray testing reveals
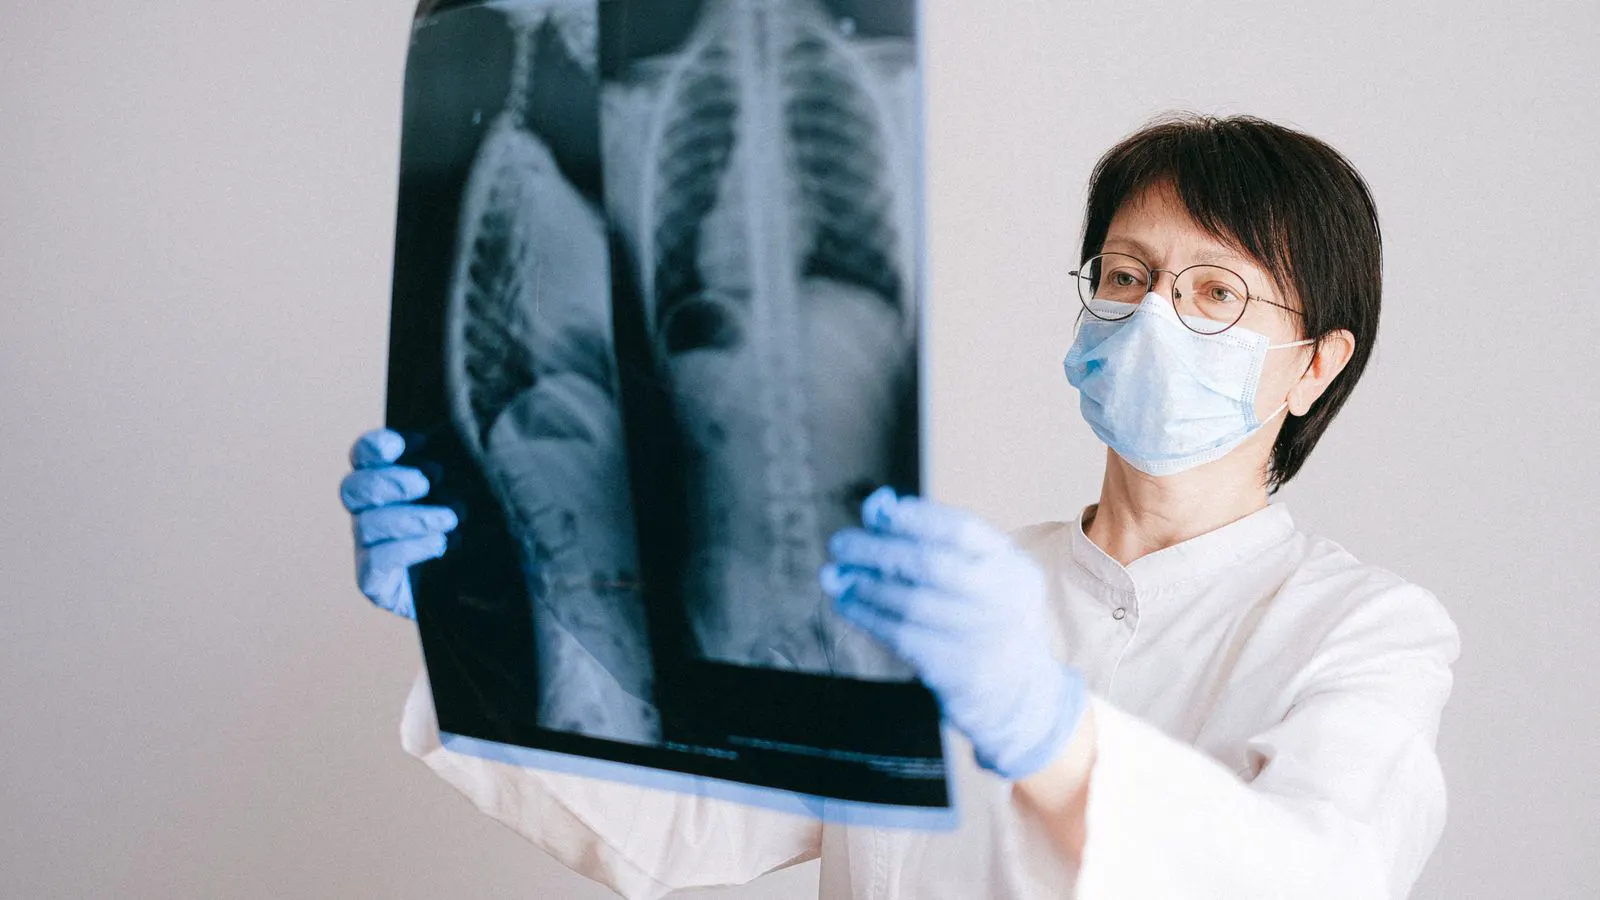
X-ray inspection uses ionizing radiation to create a shadow image of the casting. Dense material blocks the radiation. Less dense material, such as porosity or an open core, allows more radiation through and appears darker on the image.
This method detects:
- Internal porosity
- Inclusions
- Core shift
- Incomplete cores
- Internal shrinkage
- Hot tears
For investment casting, X-ray is the standard method for checking internal quality when visual inspection is not enough. It is widely used for aerospace, automotive, and medical components where internal integrity is critical.
X-ray testing has its own limits. The resolution depends on the X-ray energy, the detector type, and the part thickness. A large, thick casting may produce a lower-resolution image than a small, thin part. Overlapping features can confuse the image. A defect directly behind another dense feature may be obscured.
X-ray is also slower and more expensive than visual inspection. It requires specialized equipment, trained operators, and safety controls. Parts must be cleaned and prepared. Large parts may need multiple exposure angles to cover the entire volume.
Comparison table: visual vs X-ray for casting defect testing
| Option | Best for | Limitations |
|---|---|---|
| Visual inspection | Surface defects, quick acceptance checks, low-risk parts | Misses internal defects, limited by geometry, relies on inspector skill |
| X-ray testing | Internal porosity, core shift, inclusions, high-risk parts | Slower, more expensive, limited resolution for thick parts |
| Combined approach | Parts requiring both surface and internal verification | Higher cost, longer schedule, requires coordination of both methods |
| Ultrasonic testing | Deep internal flaws in thick sections | Surface sensitive, requires coupling, not ideal for complex shapes |
| Magnetic particle testing | Surface and near-surface cracks in ferrous parts | Only works on magnetic materials, misses non-ferrous and non-magnetic parts |
The table shows that no single method covers every scenario. Visual inspection is the baseline. X-ray adds internal coverage. Ultrasonic testing can complement X-ray for thick sections. Magnetic particle testing is specific to ferrous materials.
When to choose visual inspection only
Visual inspection alone is appropriate when the defect risk is low and the consequences of failure are manageable. Think of a decorative casting, a low-load bracket, or a part where the material is homogeneous and the casting process is well controlled.
In these cases, the cost of X-ray may not be justified. A part that will sit in a non-critical application does not need the same level of internal scrutiny as a part that will experience cyclic loading or high stress.
Engineers must also consider the customer requirement. Some contracts explicitly state that visual inspection is sufficient. Others require X-ray for every part. The specification drives the decision. If the customer accepts visual-only inspection, adding X-ray may increase cost without adding value.
However, even when visual inspection is the specified method, it must be performed correctly. The inspector needs proper lighting, a magnifier if needed, and a clear acceptance standard. A checklist helps ensure consistency. The inspector should know what to look for and what qualifies as a reject.
When to choose X-ray testing
X-ray testing is the right choice when internal defects are a known risk and the part must meet a strict internal quality standard. This is common in:
- Aerospace components
- Medical implants
- High-pressure fluid handling parts
- Critical structural parts
- Parts with complex internal geometry
In these applications, an internal defect can cause catastrophic failure. A small porosity in a pressure vessel wall can initiate a crack. A core shift in a bearing housing can cause misalignment and wear. The cost of a failure far exceeds the cost of inspection.
X-ray testing is also used when the casting process is new or unstable. During qualification runs, foundries often X-ray every part to verify that the process is consistent. Once the process is stable, inspection may be reduced to a statistical sample.
The level of X-ray inspection can vary. Some parts require a simple radiograph to check for major defects. Others require volumetric X-ray, which uses multiple angles to create a 3D model of the internal structure. Volumetric X-ray is more expensive and time-consuming but provides higher confidence.
When to combine visual and X-ray
For most critical parts, the best practice is to combine visual and X-ray inspection. Visual inspection catches surface defects quickly and cheaply. It also provides a baseline record. X-ray adds internal coverage.
A typical workflow looks like this:
- Visual inspection after deburring and cleaning
- X-ray inspection after visual pass
- Documentation of both results
- Final acceptance based on the combined data
This approach is more thorough than either method alone. It also creates a complete inspection record. If a part fails in the field, the inspection records help trace the issue back to the foundry and the process.
The combination also helps with troubleshooting. If visual inspection reveals a recurring surface defect, the foundry can adjust the mold or gating. If X-ray reveals recurring internal porosity, the foundry can adjust the cooling or gating. Each method gives different information.
Practical considerations for choosing a method
The decision is not purely technical. It involves cost, schedule, and risk. A part that takes 30 minutes to X-ray may delay a production schedule. A part that fails in the field may delay a customer program. The risk profile must be weighed.
Part geometry matters. A part with thin, complex walls may need multiple X-ray angles to get a clear image. A simple, thick part may be easier to inspect. The shape influences both the method and the cost.
Material matters too. X-ray works on all materials. Ultrasonic testing requires the material to transmit sound well. Magnetic particle testing only works on ferrous materials. For non-ferrous investment castings, X-ray and visual inspection are the main options.
The foundry capability also matters. Not every foundry has X-ray equipment. Some outsource NDE testing to third parties. This adds logistics and cost. Engineers should confirm that the foundry can perform the required inspection and provide a report.
Common mistakes in choosing inspection methods
Engineers make several mistakes when selecting casting defect testing methods.
- Assuming visual inspection is enough for all parts. A part that looks good on the surface may still have internal defects.
- Over-inspecting low-risk parts. X-ray on a low-stress part may not be justified.
- Ignoring part geometry. A complex part may need multiple X-ray angles to get a complete picture.
- Not documenting the inspection. Without a record, the inspection value is limited.
- Relying on a single inspector. Human error is possible. A second opinion or automated system can help.
The goal is to match the inspection to the risk. Too little inspection risks a failure. Too much inspection wastes money and time. The right balance depends on the part, the process, and the customer requirement.
Final recommendation
There is no single answer to the question of visual vs X-ray for casting defect testing. Visual inspection is the baseline for all castings. It is fast, cheap, and catches surface defects. X-ray testing adds internal coverage and is required for high-risk parts.
For most production parts, a combined approach is the safest choice. Visual inspection first, then X-ray for parts that need it. This gives a balance of cost, speed, and reliability.
Engineers should define the inspection requirement in the drawing or specification. State the method, the acceptance criteria, and the frequency. This removes ambiguity and ensures the foundry and the customer are aligned.
The right inspection method is the one that gives the required confidence without adding unnecessary cost or delay.
Frequently asked questions
Can visual inspection detect internal defects?
No. Visual inspection only sees the surface. Internal porosity, inclusions, and core shifts must be detected with methods like X-ray or ultrasonic testing.
Is X-ray testing required for all investment castings?
No. X-ray is required for high-risk parts where internal defects are critical. Low-risk parts may only need visual inspection, depending on the specification.
What is the difference between visual and X-ray inspection?
Visual inspection checks the surface with the eye. X-ray uses radiation to create an image of the internal structure. They detect different types of defects.
Can a part pass visual inspection but still fail X-ray?
Yes. A part can look clean on the surface and still have internal porosity or a core shift. This is why X-ray is used for critical parts.
How often should castings be inspected?
It depends on the part and the process. Critical parts may be inspected 100 percent. Lower-risk parts may be inspected on a statistical sample basis. The specification should define the frequency.